Basic X3 Setup
Basic step-by-step setup guide.
1 X3 Diagnostics
After you have successfully installed X3, the first thing you will see is your X3 diagnostics page. X3 diagnostics is enabled by default to check that everything is in working order. If everything is working as it should, your diagnostics page should look something like this:
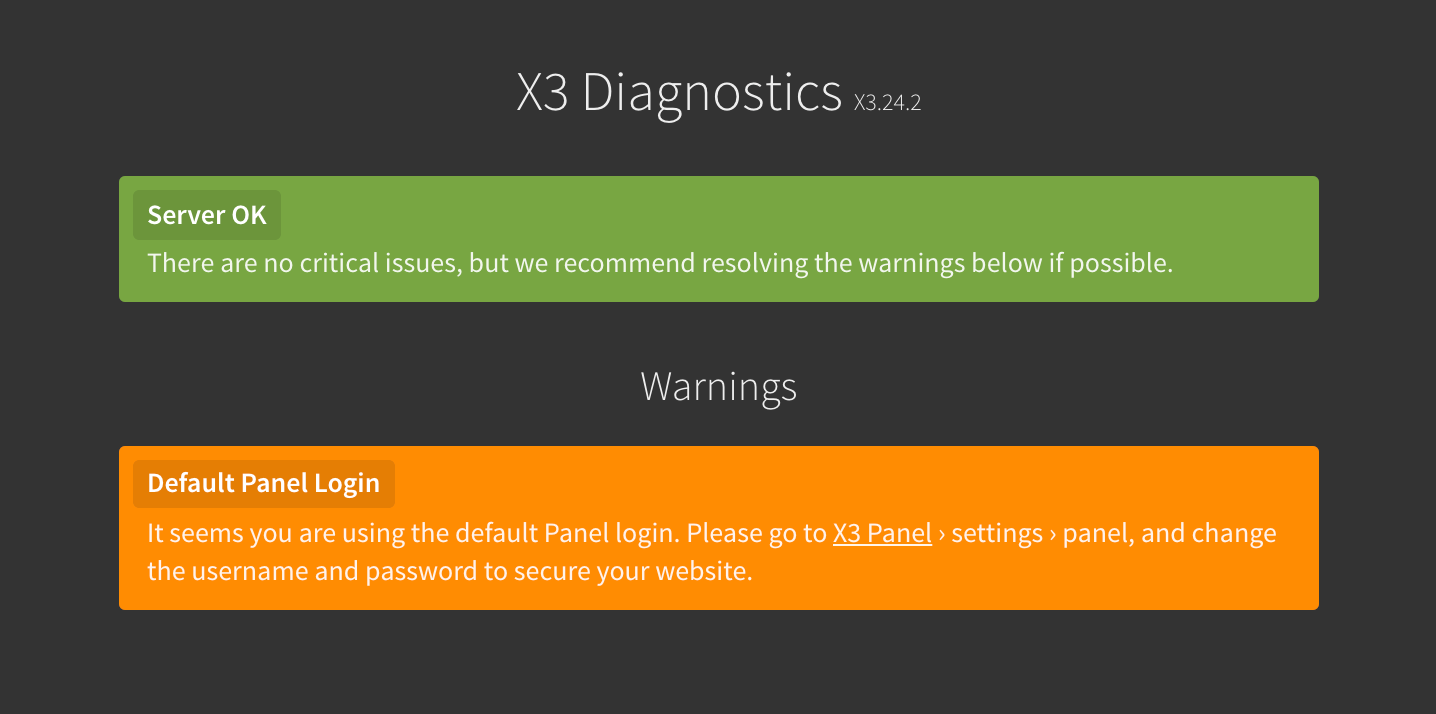
X3 Diagnostics will show a warning "Default panel login" by default, because it is important that you change your control panel login to secure your website. If you have other warnings displaying, you may need to fix these issues before proceeding.
2 Control Panel
Next step is to login to your X3 control panel and complete a few essential tasks.
A Login to your X3 control panel
Click the X3 Control Panel link from your diagnostics page, or simply proceed to URL:
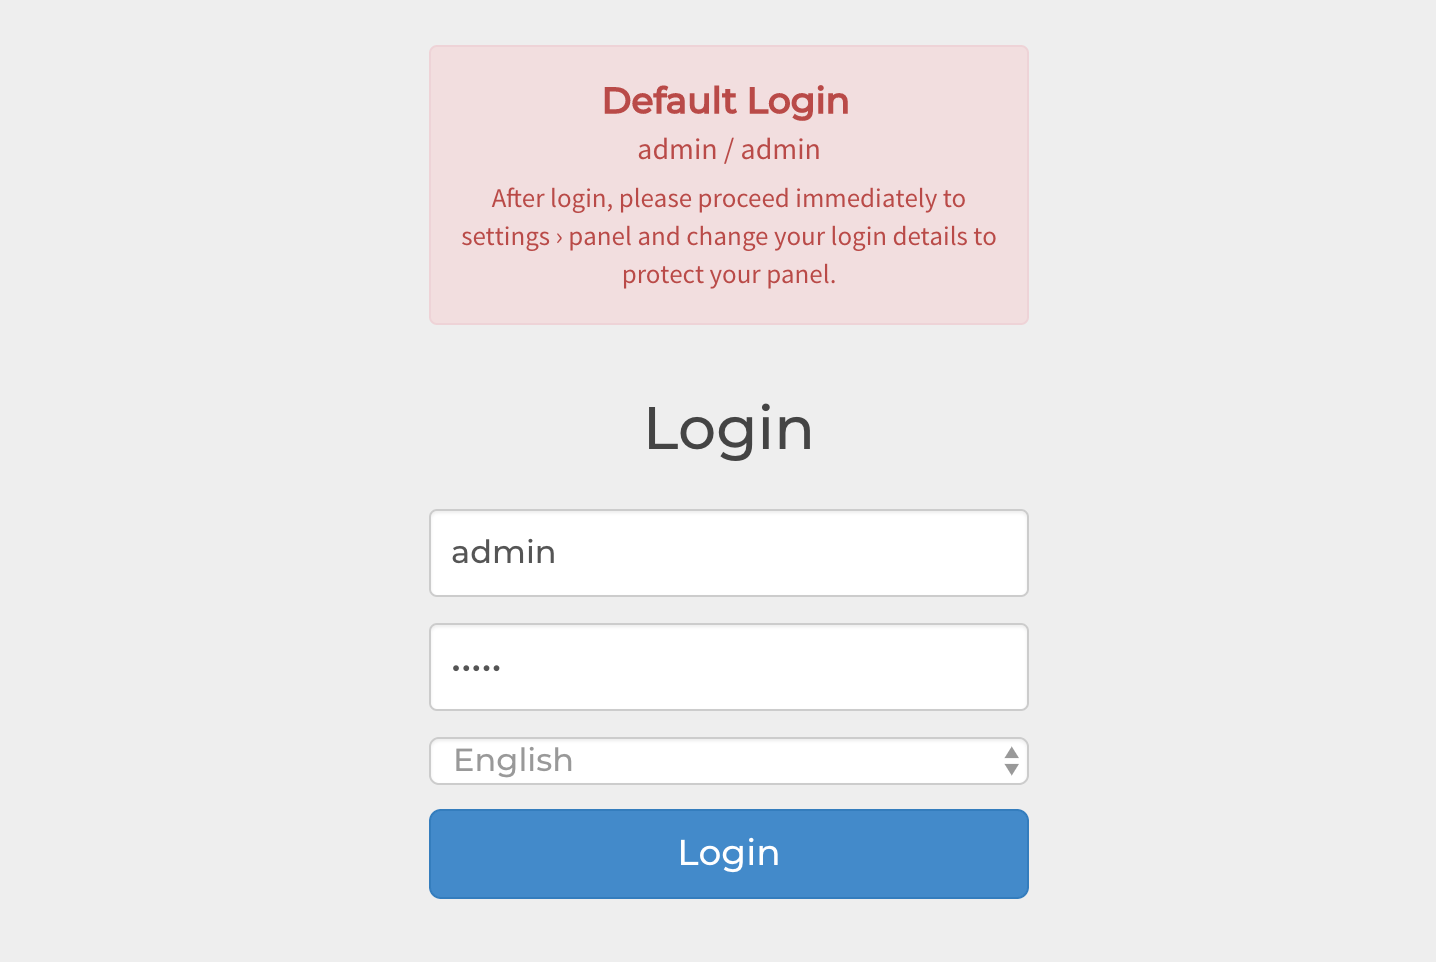
* Default login to the X3 control panel is admin:admin.
B Change username and password
To secure your control panel, it is a good idea to immediately change the login. Navigate to Settings › Panel and change your Username and Password to something you will remember. You will automatically be logged out and required to login with your new credentials. At this point, if you visit your main website url, your diagnostics page should display without any warnings.
C Disable diagnostics
After logging in with your new username and password, proceed to Settings › Advanced, uncheck [Show X3 Diagnostics] and click SAVE.
3 Check your X3 website
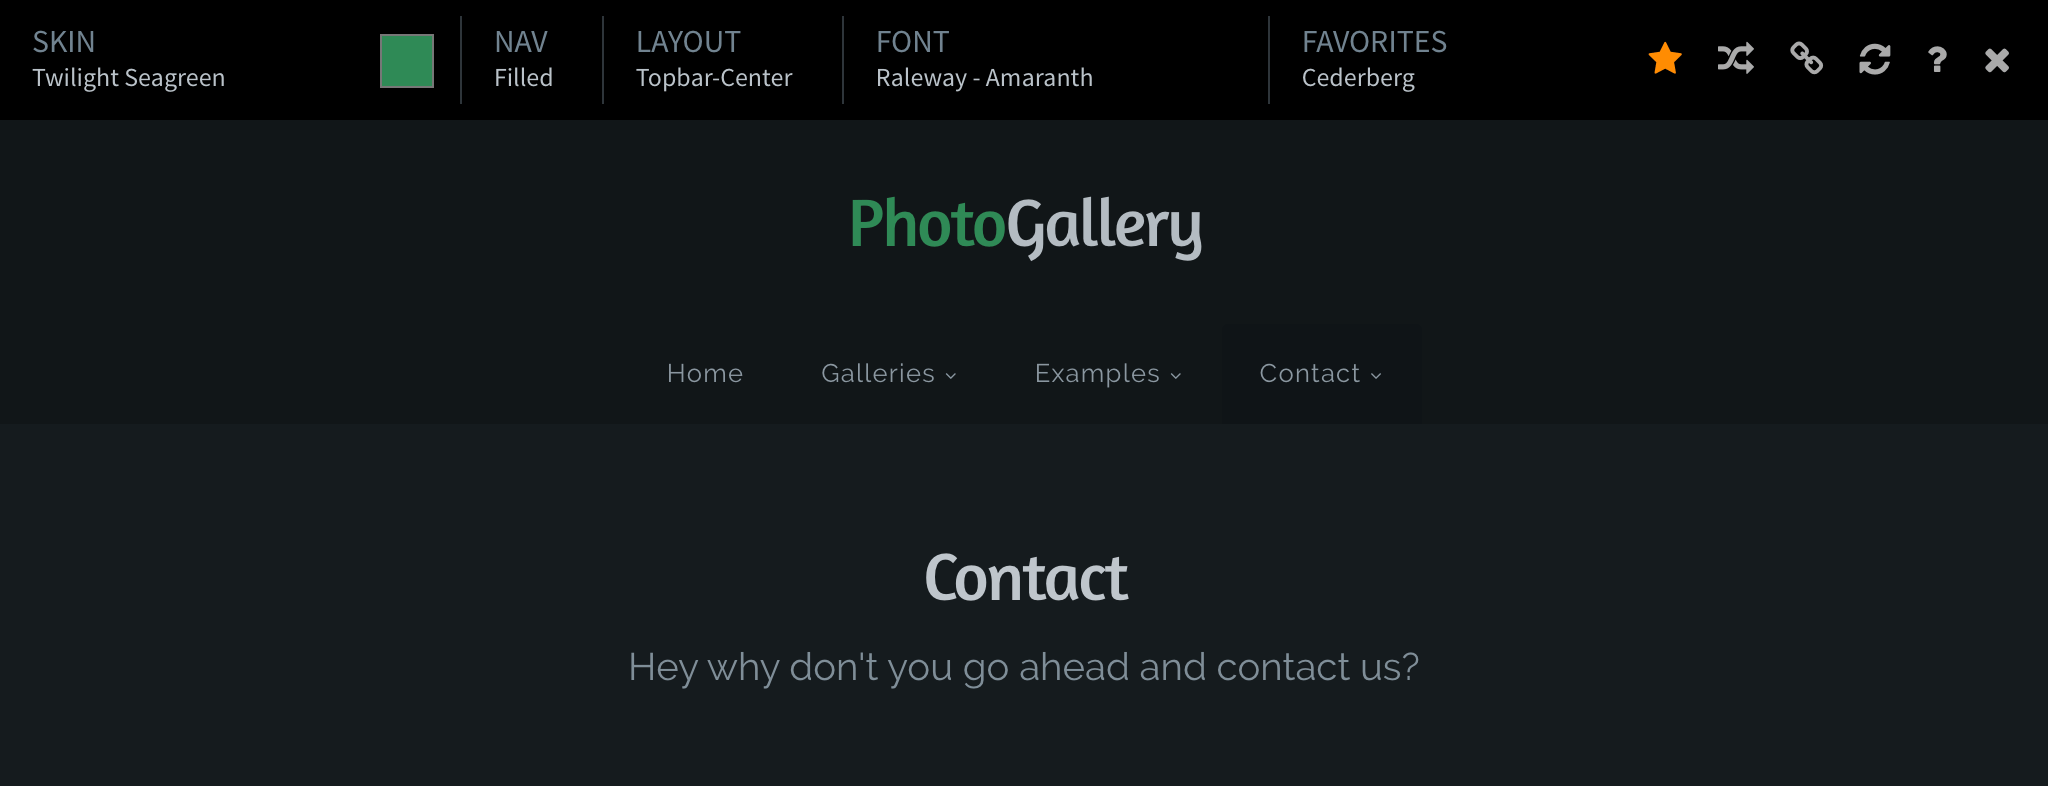
Now with your control panel secured and diagnostics disabled, you should check that your new X3 website is working as it should with the default sample pages. Navigate to your X3 website url, click some links in the menu, and make sure everything (including images) is loading properly.
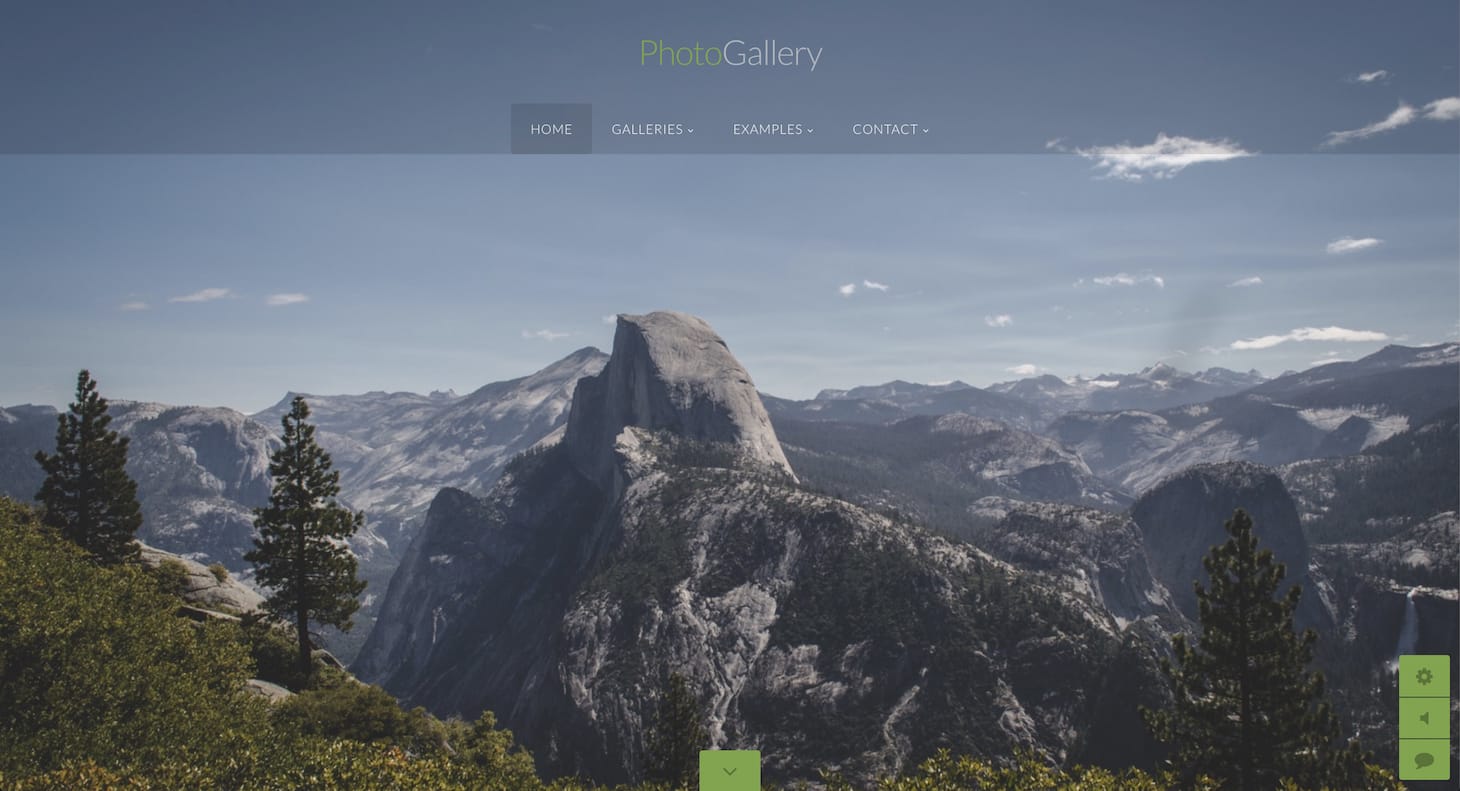
* Your X3 website should resemble the X3 demo website as seen above.
X3 Ready!
Your X3 website is ready and you can start creating. Next steps in this guide are optional.
4 Select X3 Style
Next recommended step is to choose an X3 website style combination for your new X3 website. You can change style at any point in time later on, but it's a good idea to set an initial style and familiarize yourself with X3 skins, colors, layouts and fonts.
X3 styles are combinations of skin, color, fonts and layout that make up the unique visual design of your X3 website.
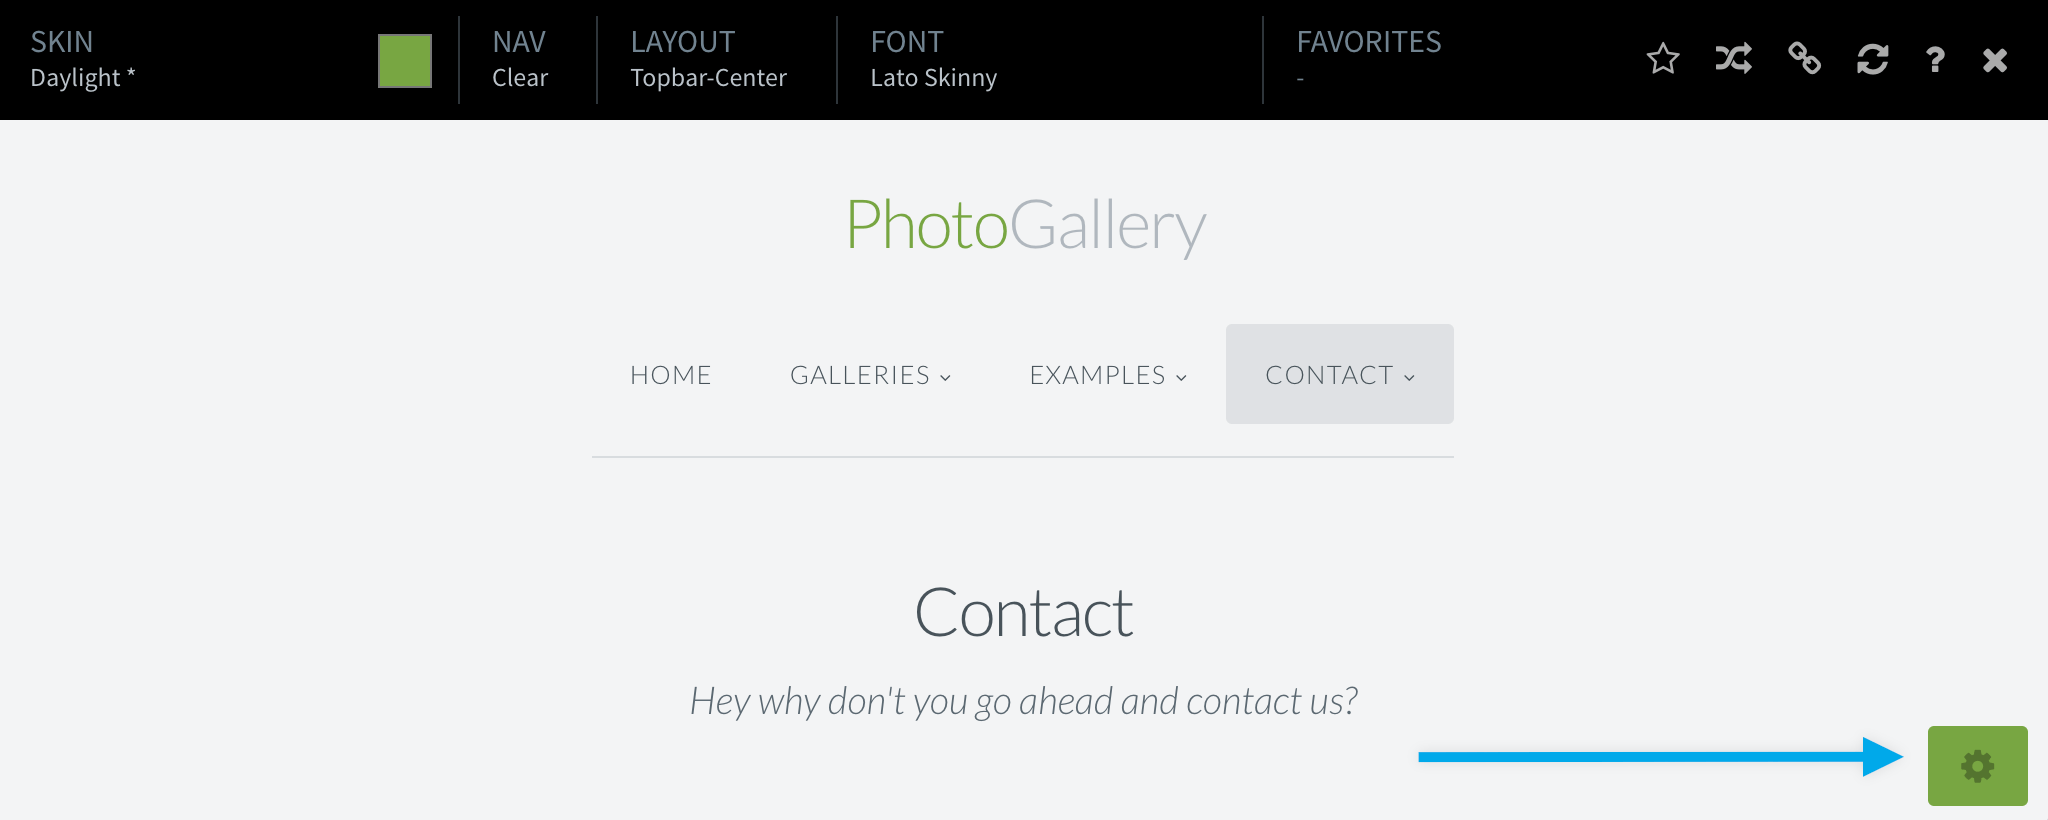
A Click the Styler button
From your X3 website, click the X3 Styler button in bottom right corner. A styler interface will load and display at the top of screen, allowing you to preview X3 skins, layouts, fonts and colors.
B Test style combinations
From the X3 styler interface, test various combinations of skins, colors, layouts and fonts.
C Apply styles from control panel
Once you have decided upon a combination of styles, login to your control panel and navigate to Settings › Style. Apply your choice of styles in the layout, skin and font sections, and click SAVE.
D Disable Styler button * Optional
Once you have changed your X3 website style, you should disable the X3 Styler button so it is not available to visitors. From panel, navigate to Settings › Style, uncheck [Show X3 Styler] and click SAVE. Optionally, you can wait until your website is complete before disabling the styler button.
5 Change Logo
Next, you will most likely want to change the logo that displays "Photo Gallery" at the top of your X3 website. From your panel, navigate to Settings › Style › Logo and edit the "Logo Title". You can also choose to use an image logo or entirely disable the logo if it is not required.
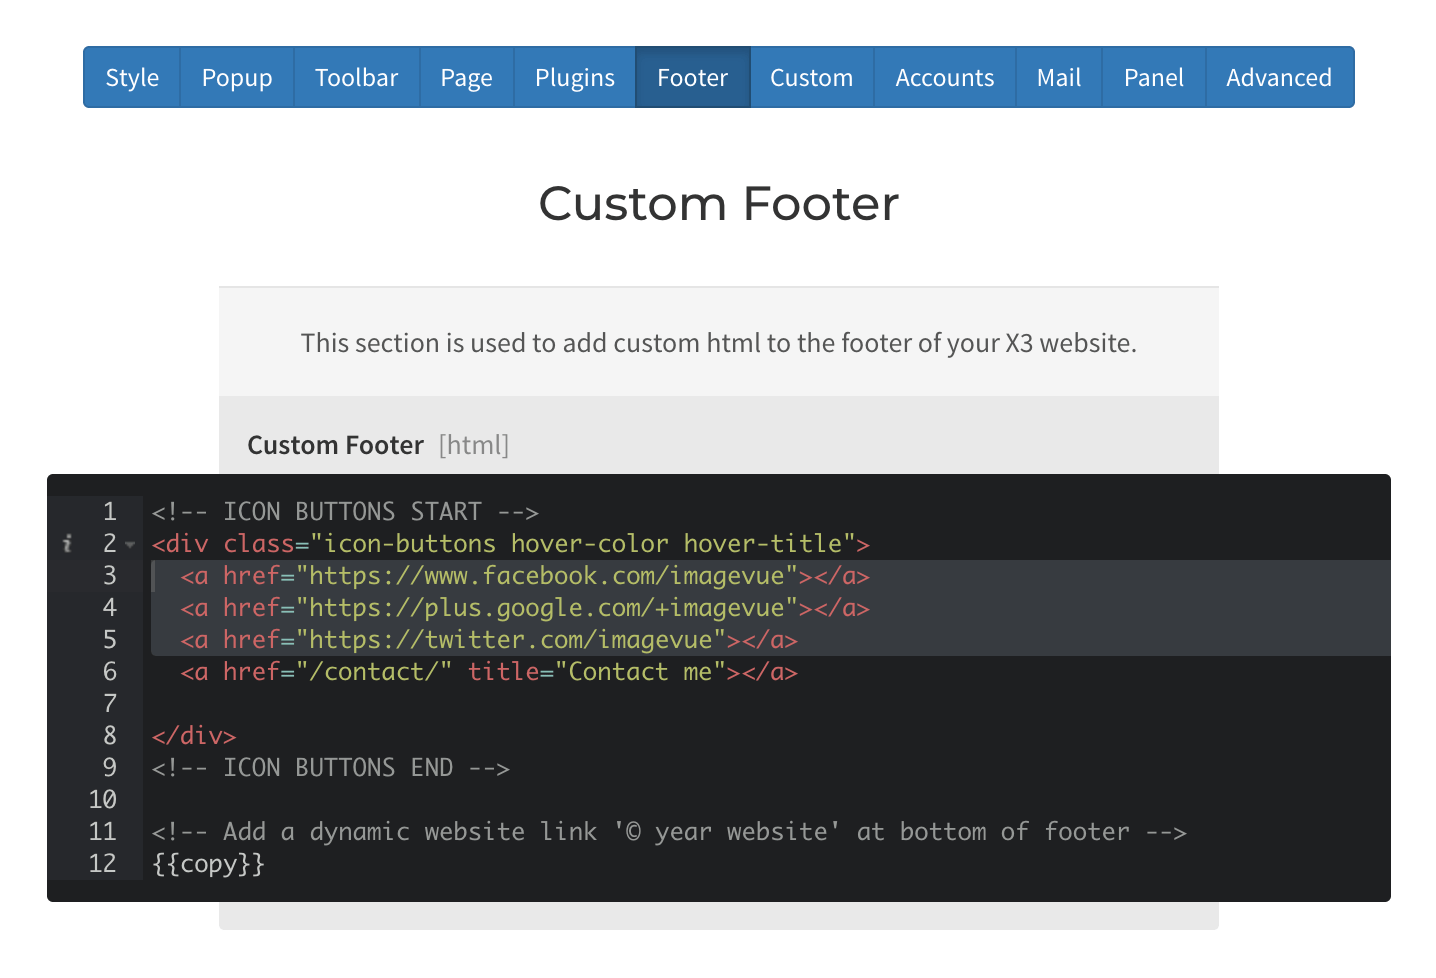
6 Edit footer links
At the footer (bottom) location of your website, you will find a few "round icon" sample links to X3's social media accounts (Facebook, Twitter etc) which you may wish to change or remove.

From your X3 panel, navigate to Settings › Footer. Edit or remove links.
Start Creating!
Now that you have edited critical X3 settings, you can start creating pages and uploading images from your X3 control panel. You may consider these next steps:
- Finalize style and logo implementation.
- Plan and configure your index home page (see examples in our X3 showcase).
- Configure email settings from Panel › Settings › Mail if you intend to use the contact form.
- Start creating pages and experimenting with gallery layouts (see examples in our X3 demo).
Files Gallery!
You also have the optional Files Gallery app located in your X3 dir, [see demo] or [read more]